How to set-up your phone theme
on Samsung Galaxy One UI 7
Customising Your Icons
step 1
We’ll be customising your icons using the Theme Park app, so ensure that you have it installed from the Play Store or Galaxy Store.
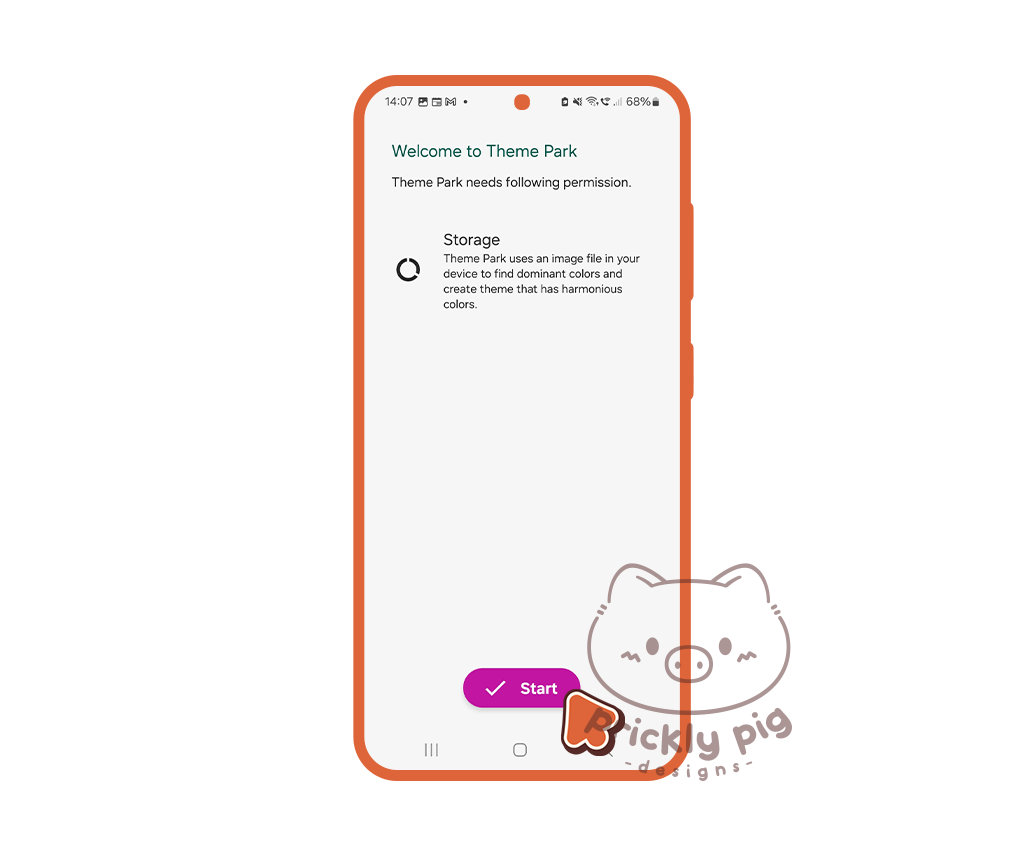
Step 2
Open the app, tap Start, and allow permissions for the app to access your gallery.
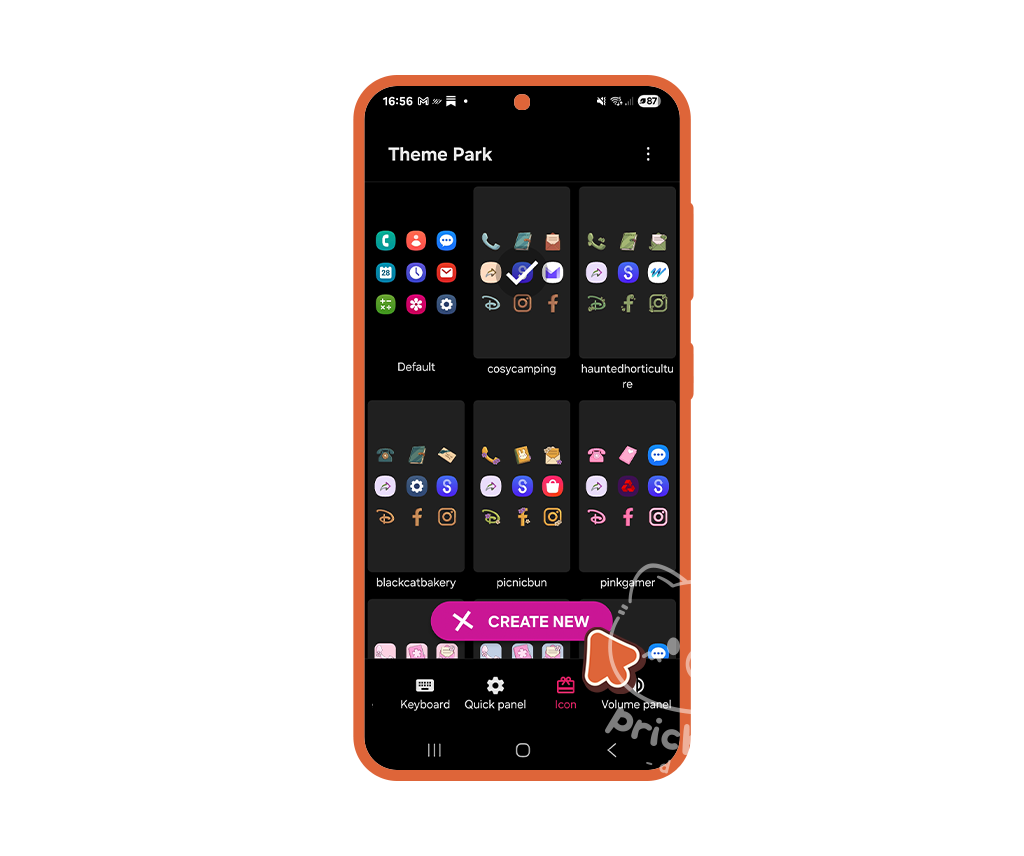
step 3
Open the Theme Park app and tap icon on the bottom navigation menu, then tap Create New.
step 4
Tap the hamburger icon ☰ and tap Change Icons.
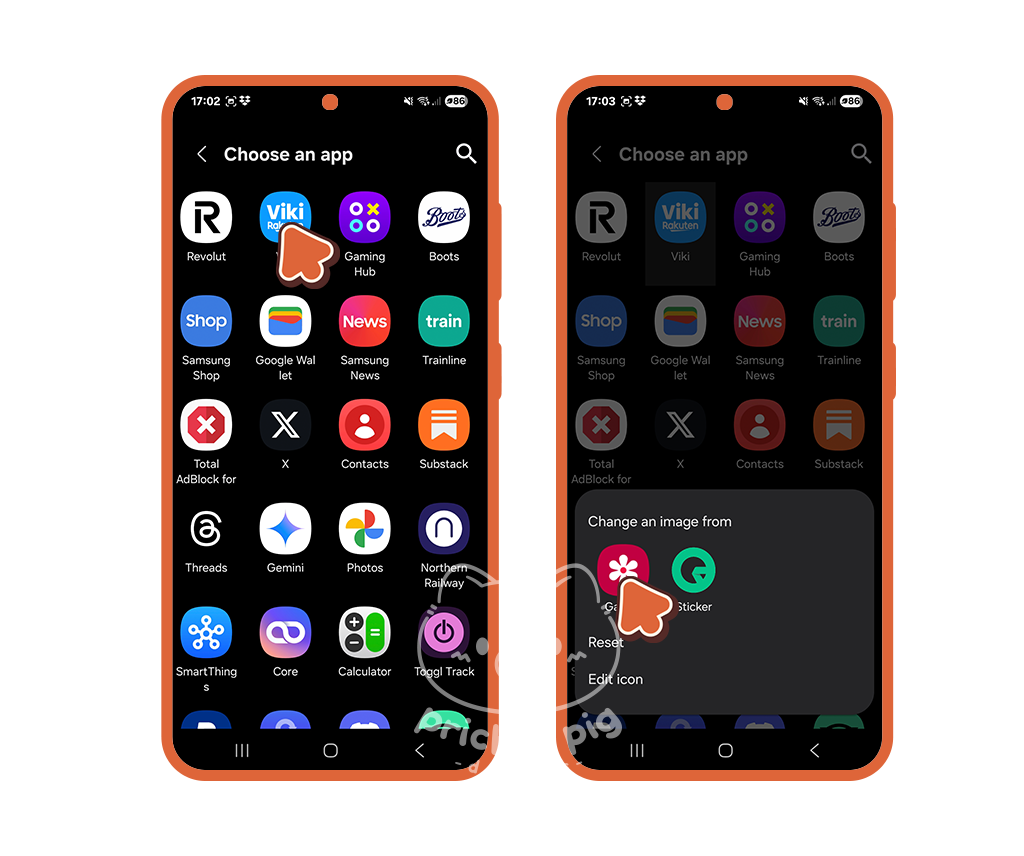
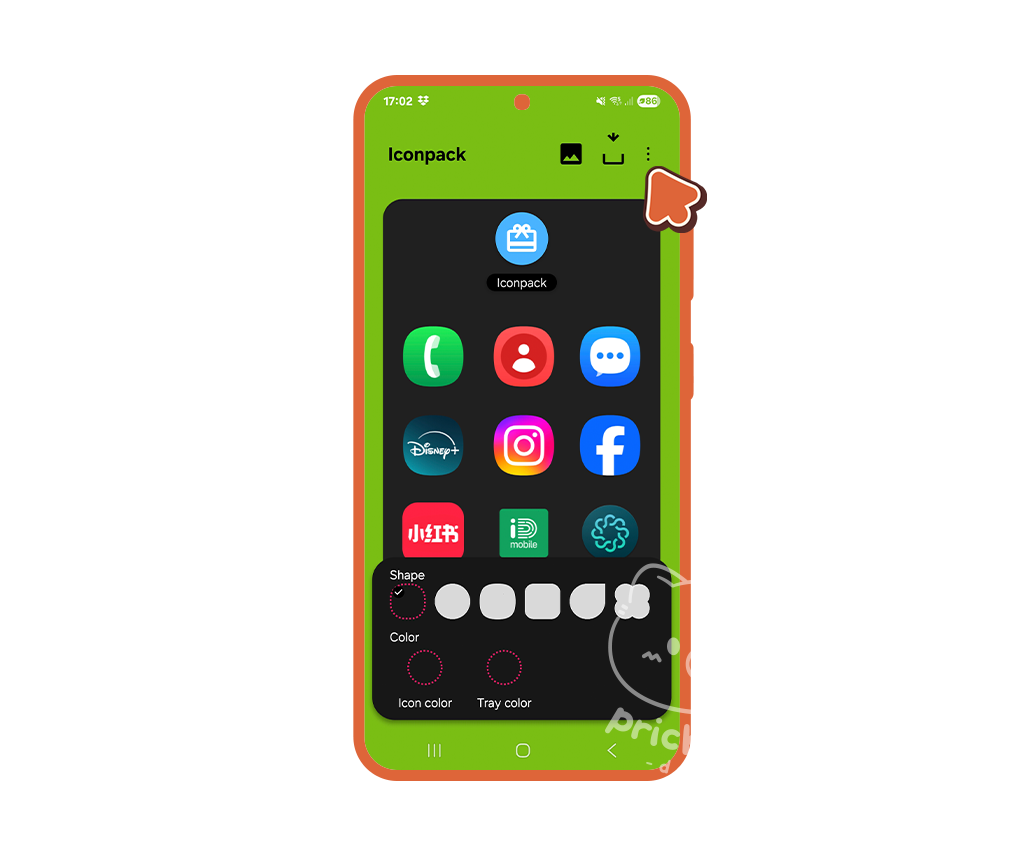
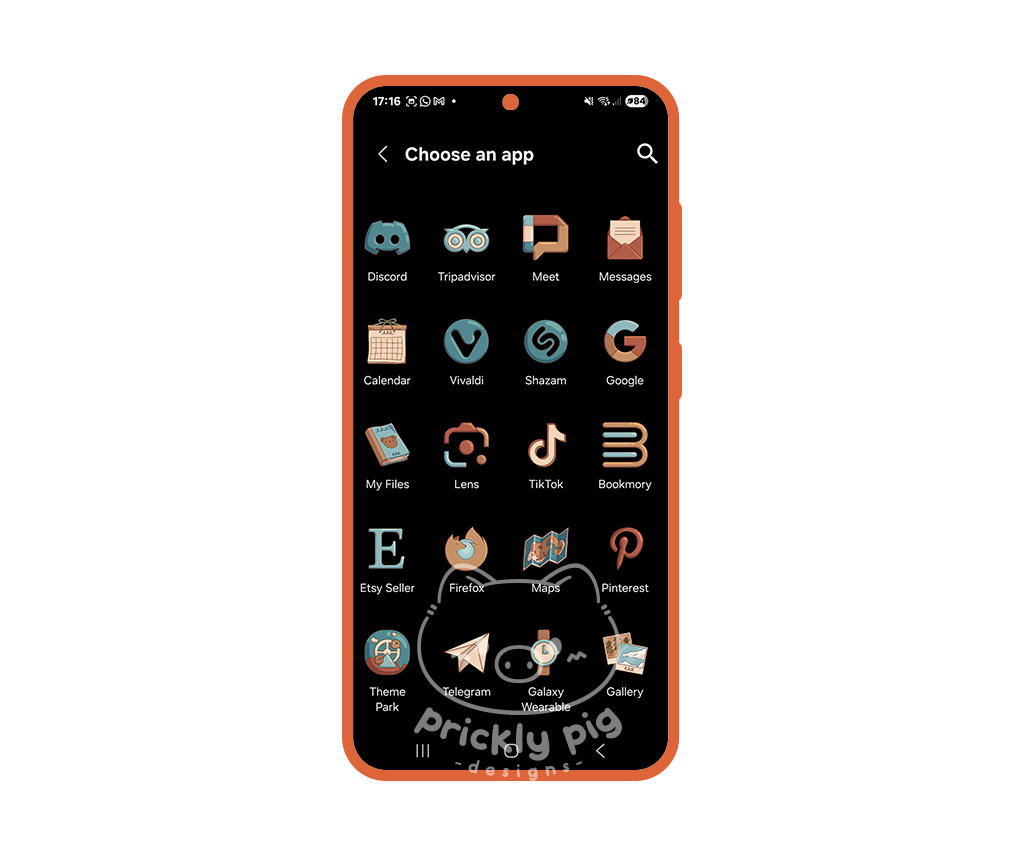
step 5
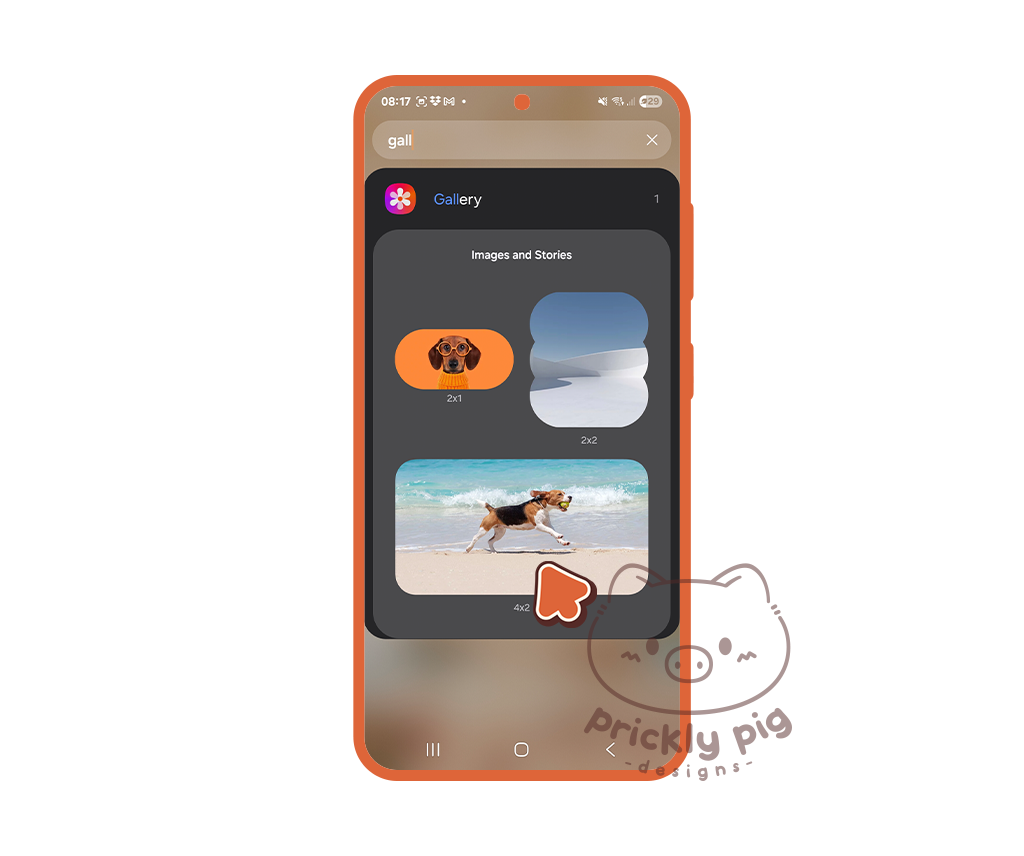
Choose an app to customise its icon. Then tap Gallery and choose an appropriate icon from your gallery.
step 6
Customise each app with a custom icon image.

step 7
When you’ve finished customising, tap the save button and give your icon pack a name.
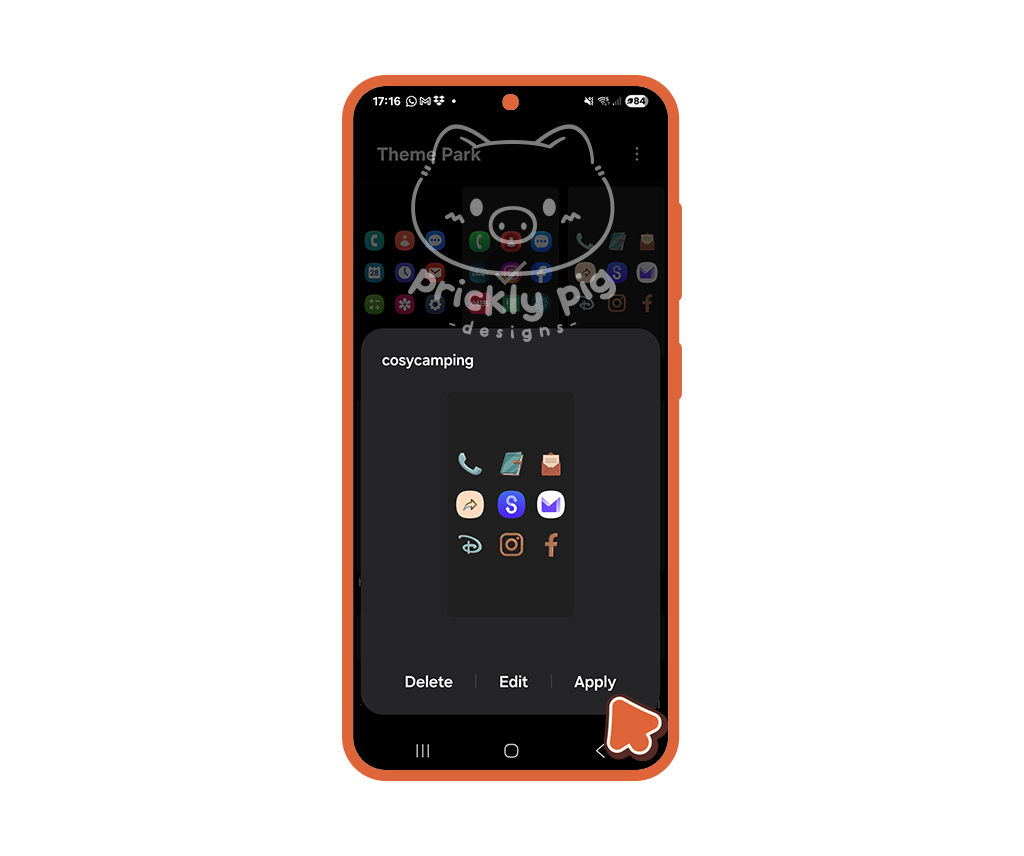
step 8
Tap your new icon pack and tap Apply.

Customising Your Wallpaper

step 1
On your home screen, touch and hold an empty space, then tap Wallpaper and Style.
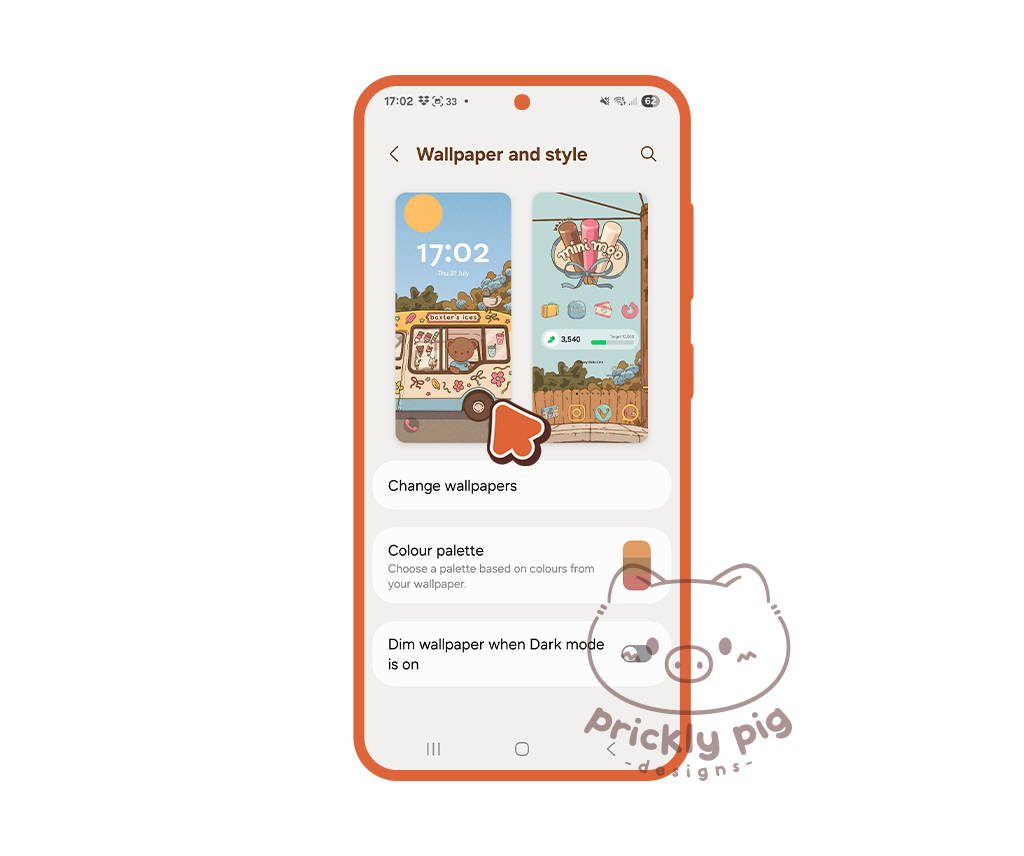
Step 2
Tap either your Home or Lock Screen to customize it.
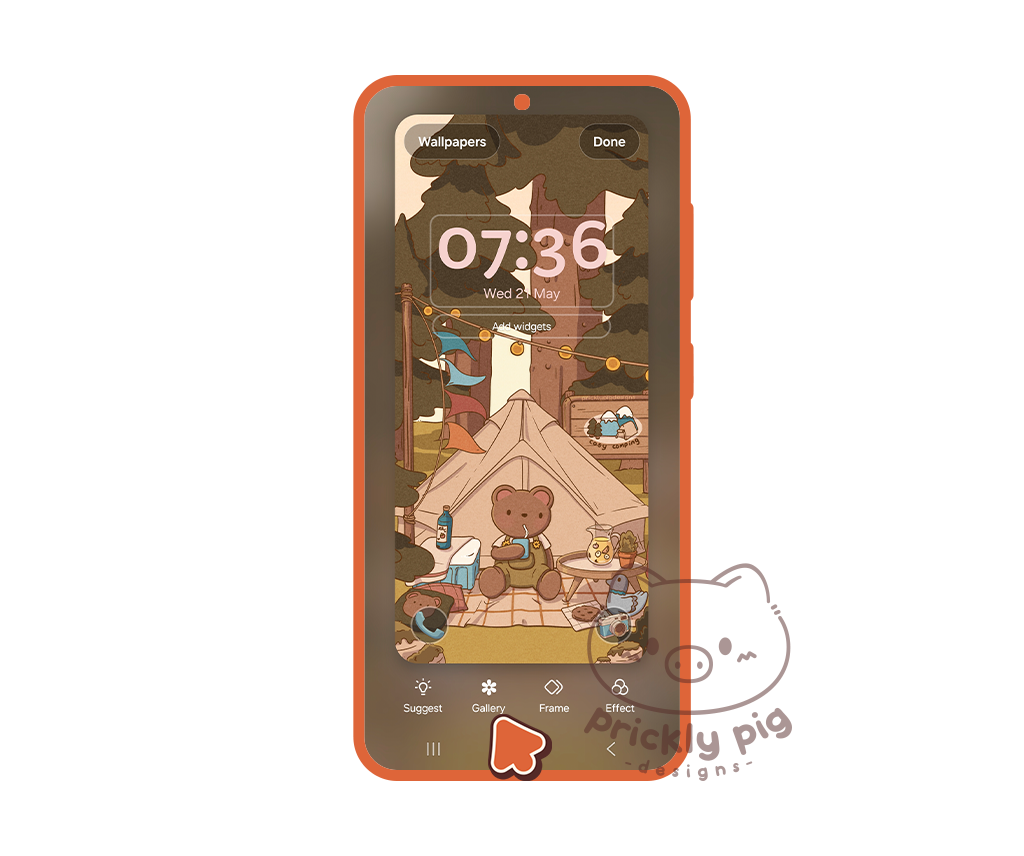
step 3
Tap Gallery to choose a wallpaper from your gallery.
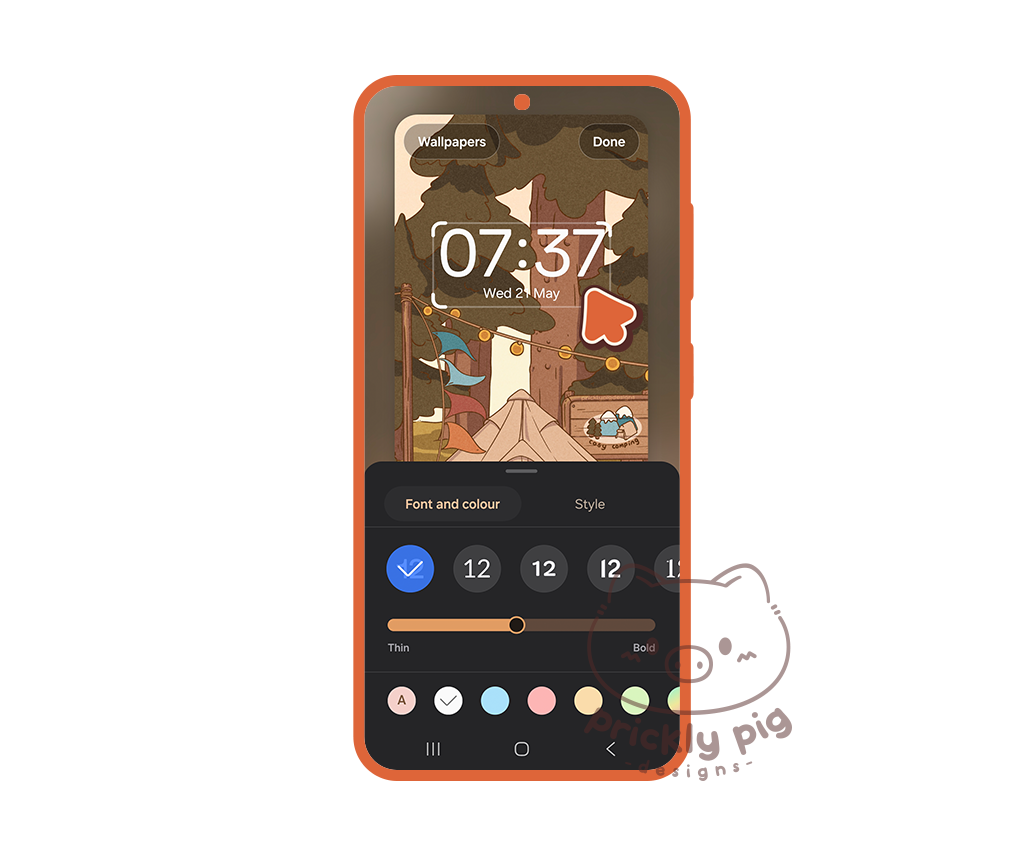
step 4
If customizing your Lock Screen, you can change your clock's size, style and font here too by tapping on your clock.
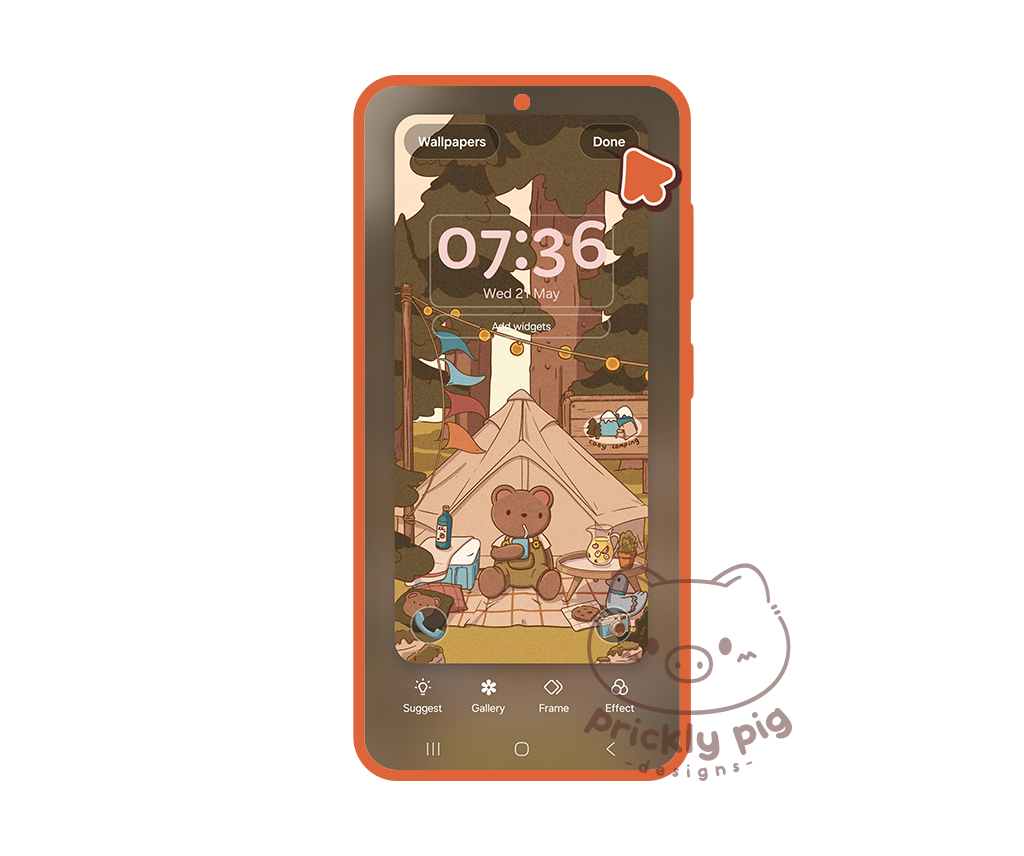
step 5
When you’ve finished, tap Done.
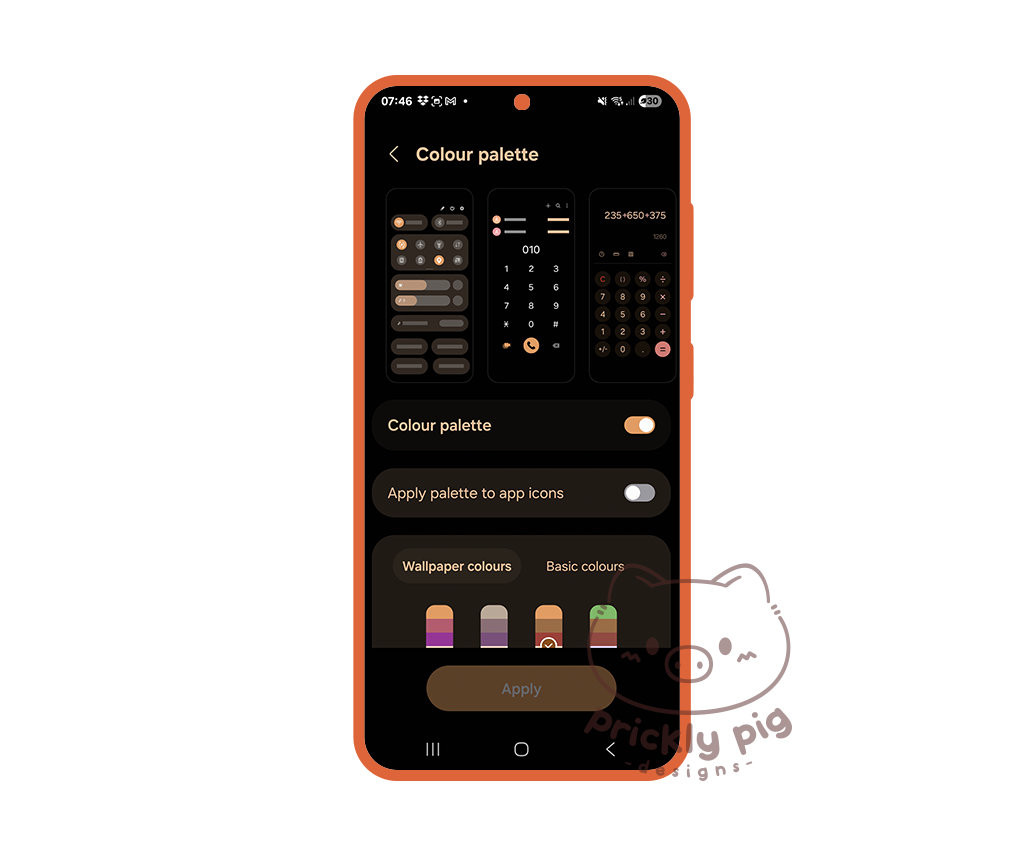
step 6
You can also choose a color palette for your device which customises the colours within your Samsung apps and device UI.
Customising with image widgets
You can add images to your Home Screen with either the Samsung Gallery app or with a third party app, I use Material Photo Widget in this tutorial.
As of One UI 7, the Samsung Gallery app applies a semi-opaque background to its widgets. To avoid this, you will need to use widget images with solid backgrounds or use Material Photo Widget (or other third party apps) which do not apply a background and allow the widget images to be displayed with transparent backgrounds.
Adding image widgets with the Gallery App

step 1
On your home screen, touch and hold an empty space, then tap Widgets.
Step 2
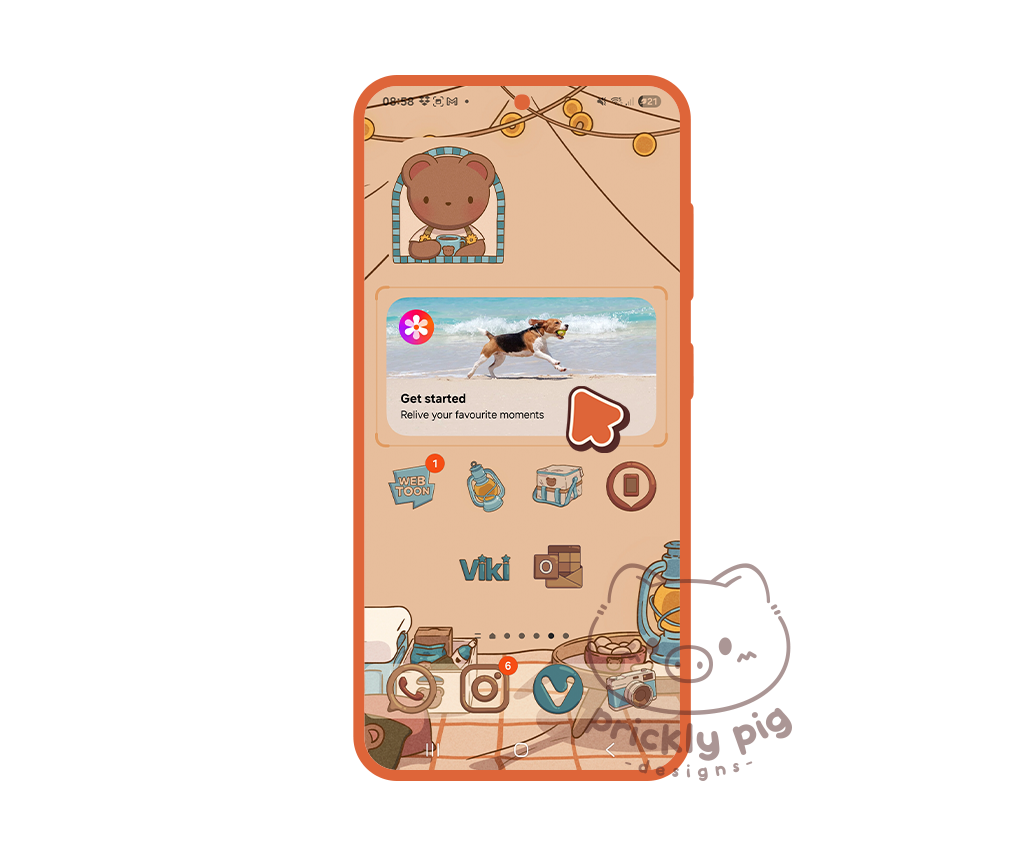
Scroll the the Gallery Widget (or use the search) and select one of the widget shapes. All the widgets can be resized when placed on your home screen.
step 3
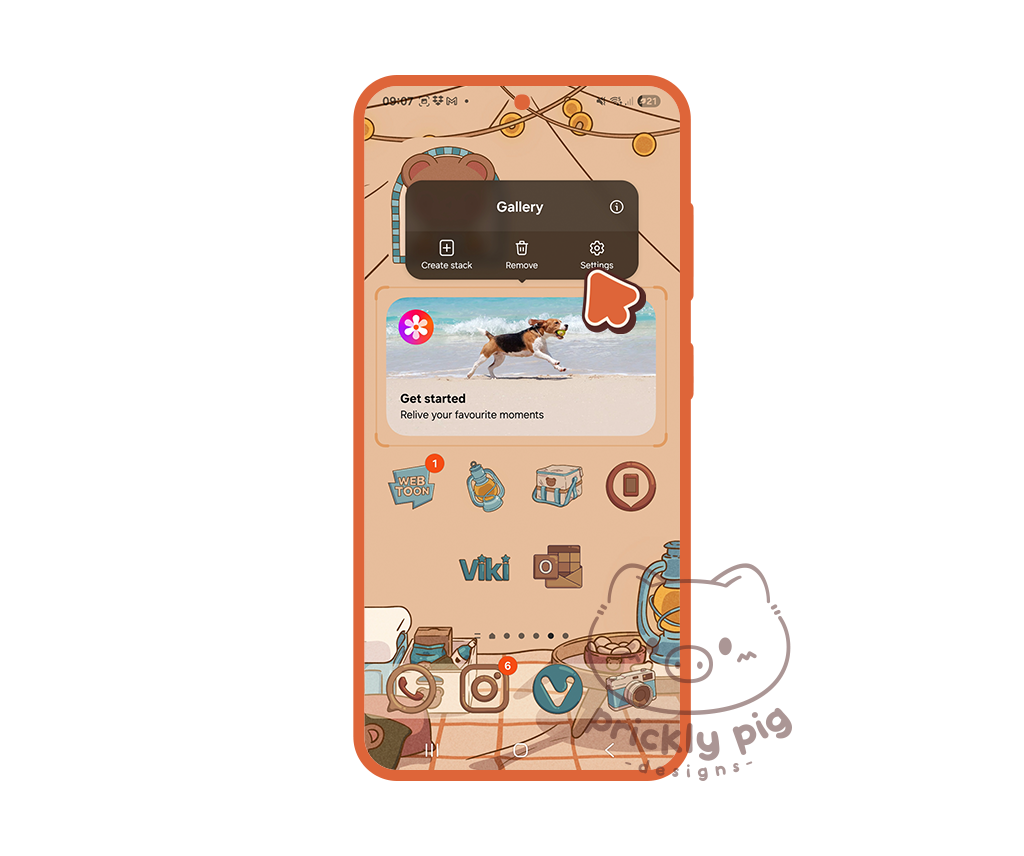
Tap and hold the new widget to bring up the customisation options.
step 4
Tap Settings.
step 5
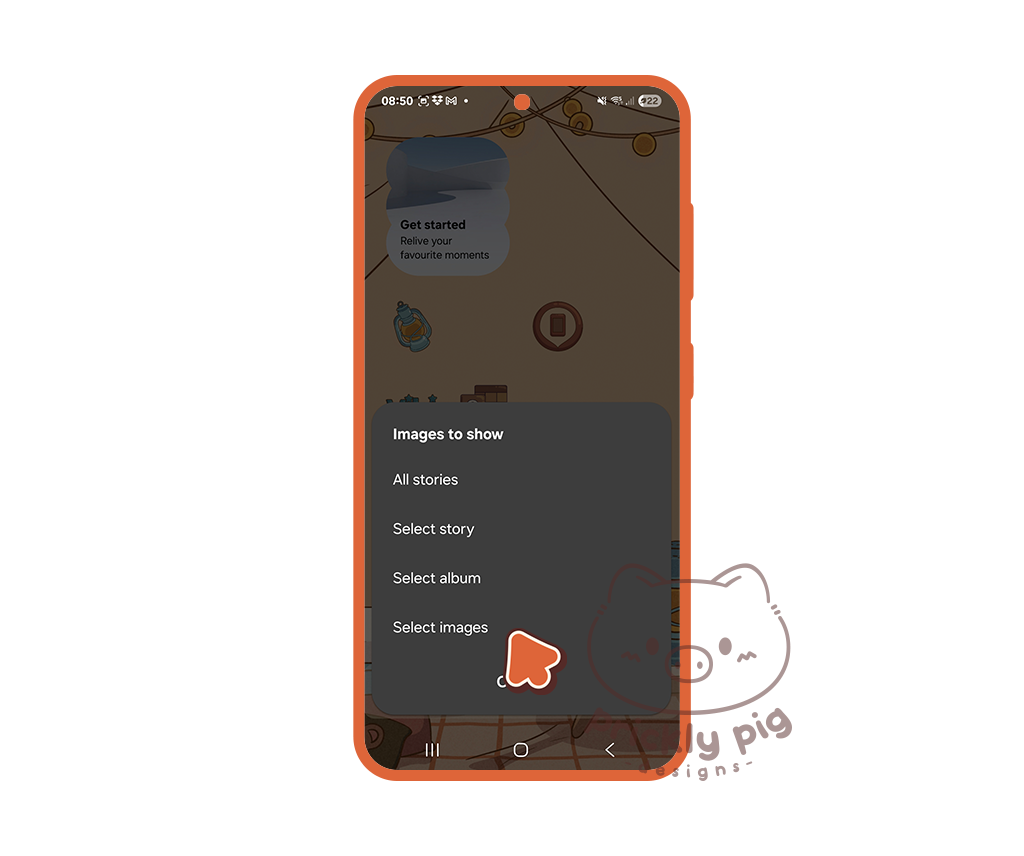
Tap Images to show then tap Select images and select one or more images. Selecting multiple images you will create a slide show on the widget.
Ensure you select images with solid backgrounds which match the wallpaper.
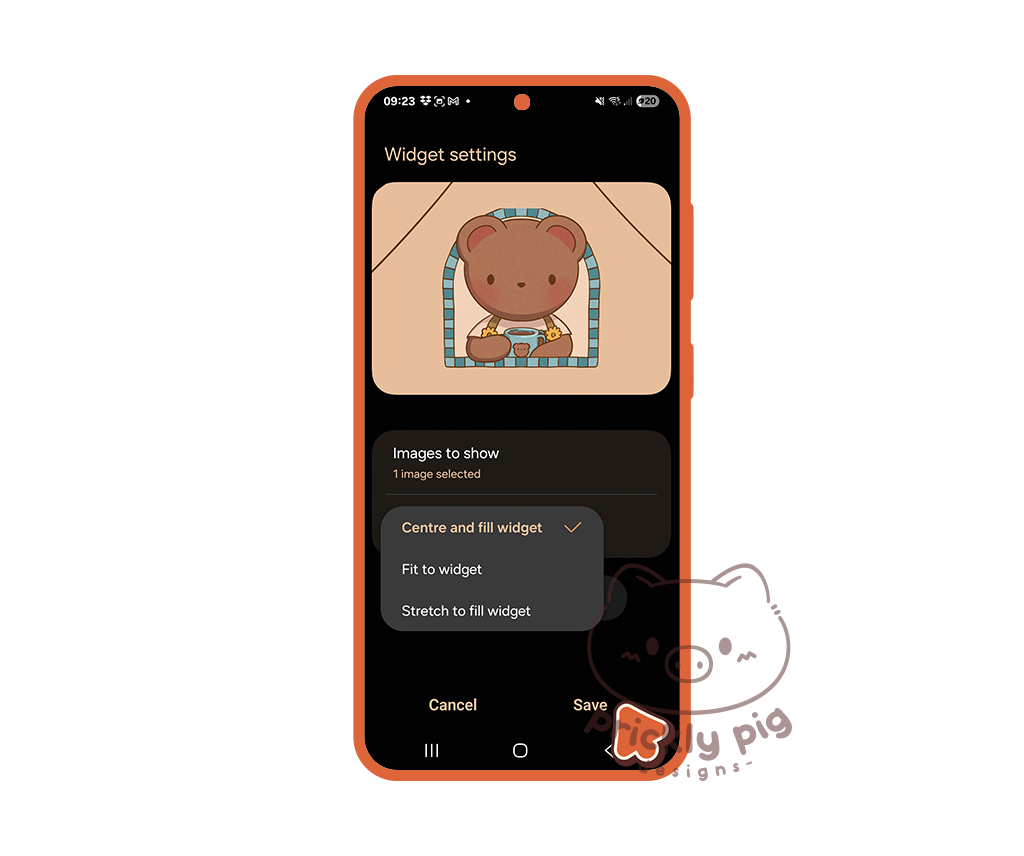
step 6
Set the Display method as Centre and fill widget.
Tap Save.

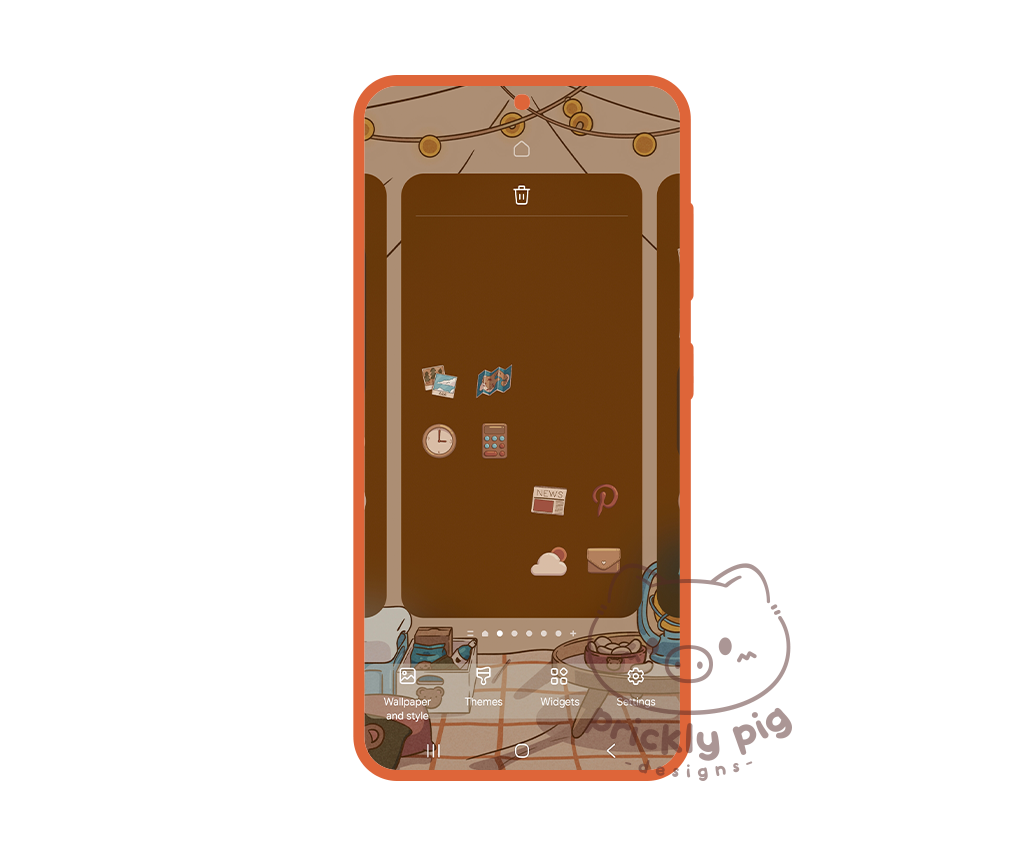
step 7
Tap and hold the widget again. A border will appear around the widget that you can drag to resize the widget and move it around your home screen.
You can make the widget a square or rectangle to suit different widget dimentions.
Adding image widgets with Material Photo Widget

step 1
There are many different apps on the Play Store which create image widgets, but I have been using Material Photo Widget and I think it works well.
Step 2
Tap and hold anywhere on your home screen to bring up the editing options and then tap widgets.
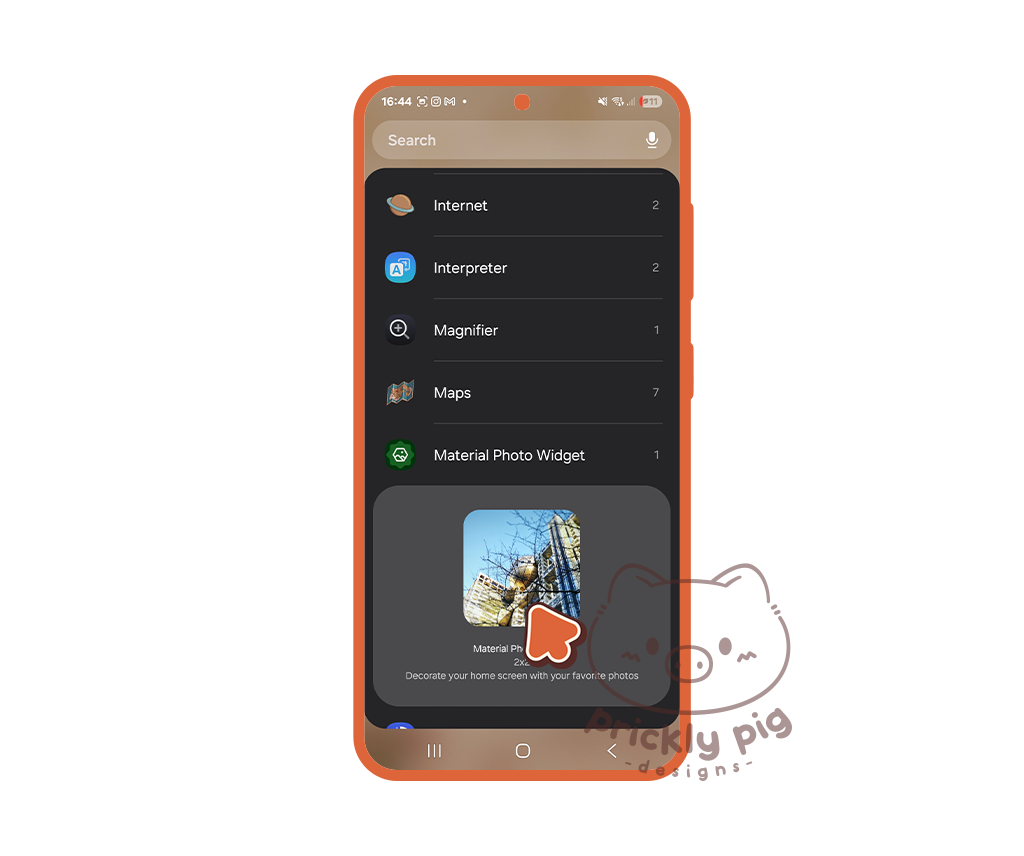
step 3
Tap to select the Material Photo Widget, tap the widget and tap Add to add it to your Home Screen.
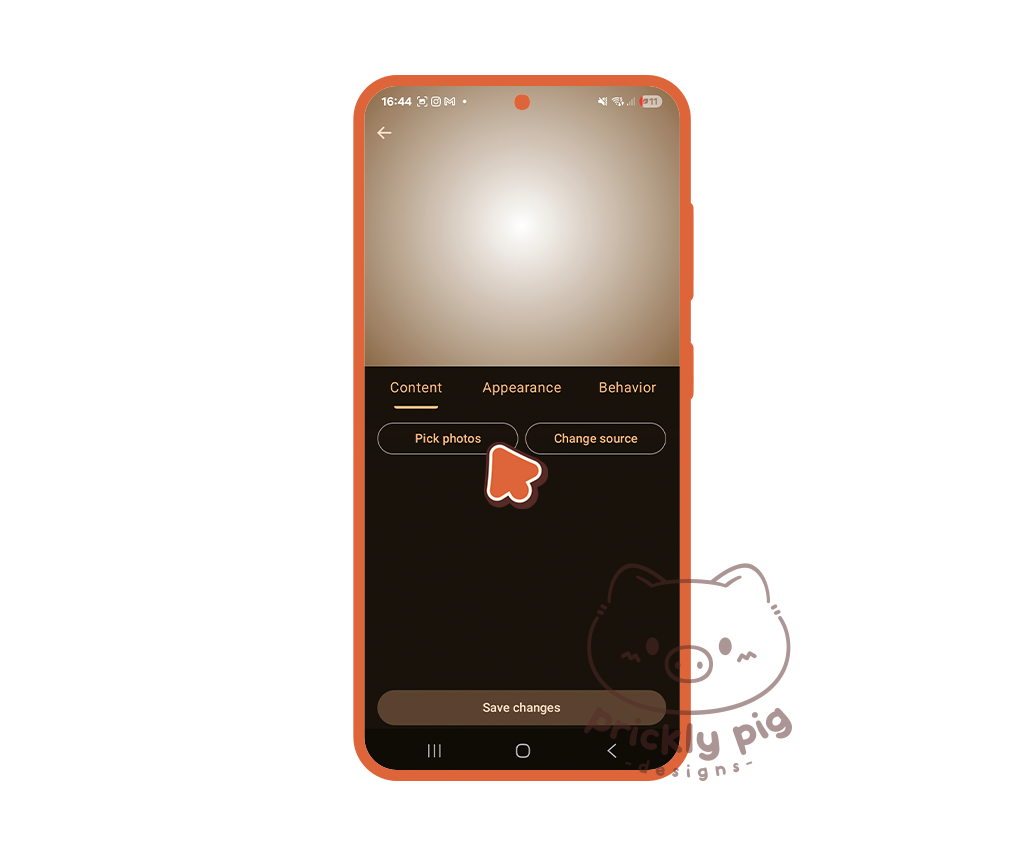
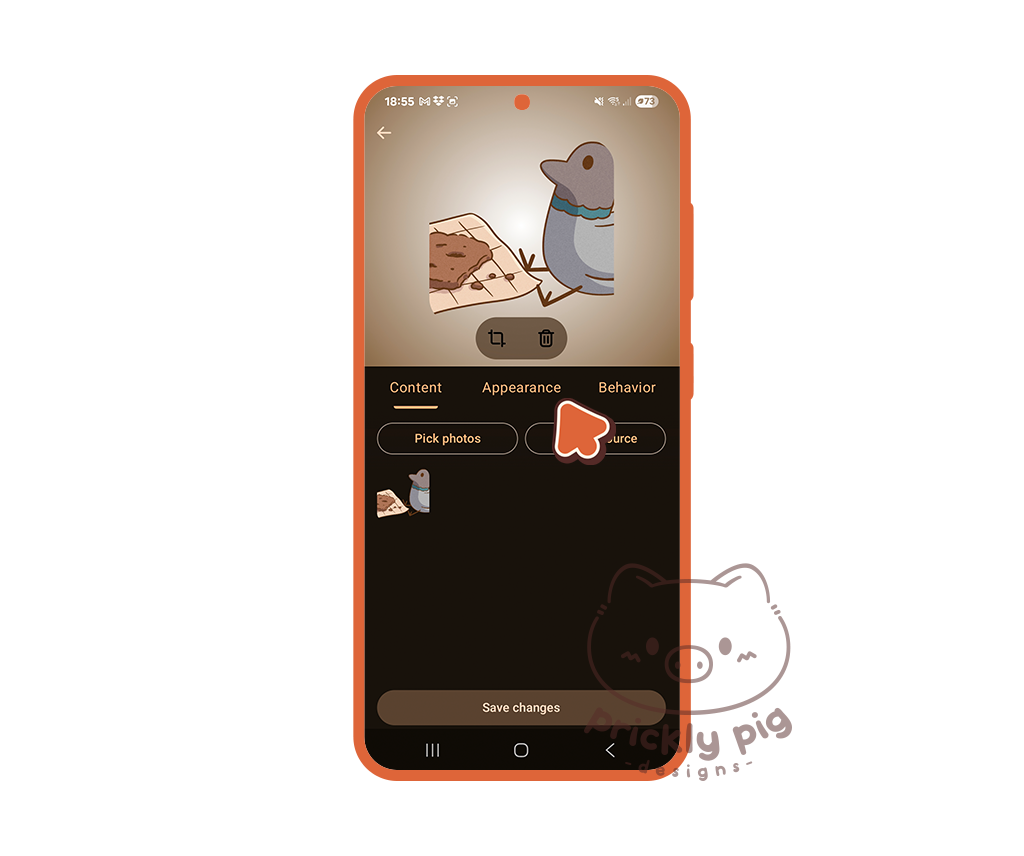
step 4
The Material Photo Widget will open. Tap Pick photos and choose an image from your gallery for the widget.
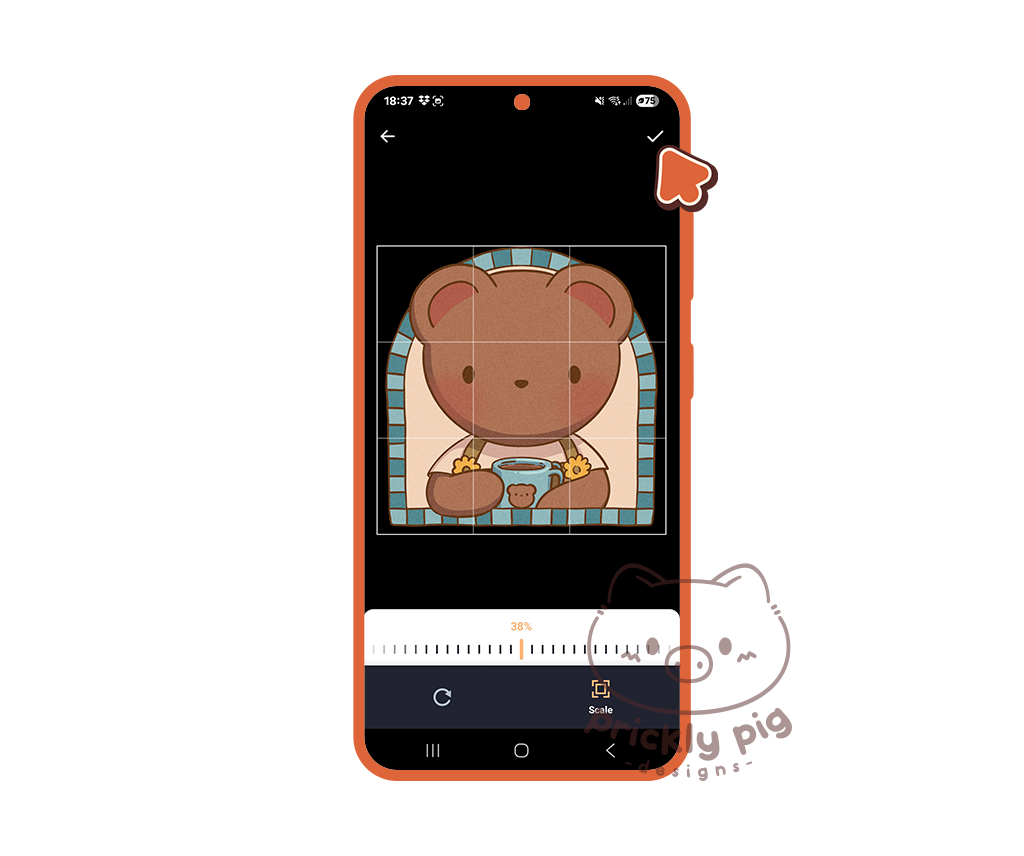
step 5
Tap the tick icon.
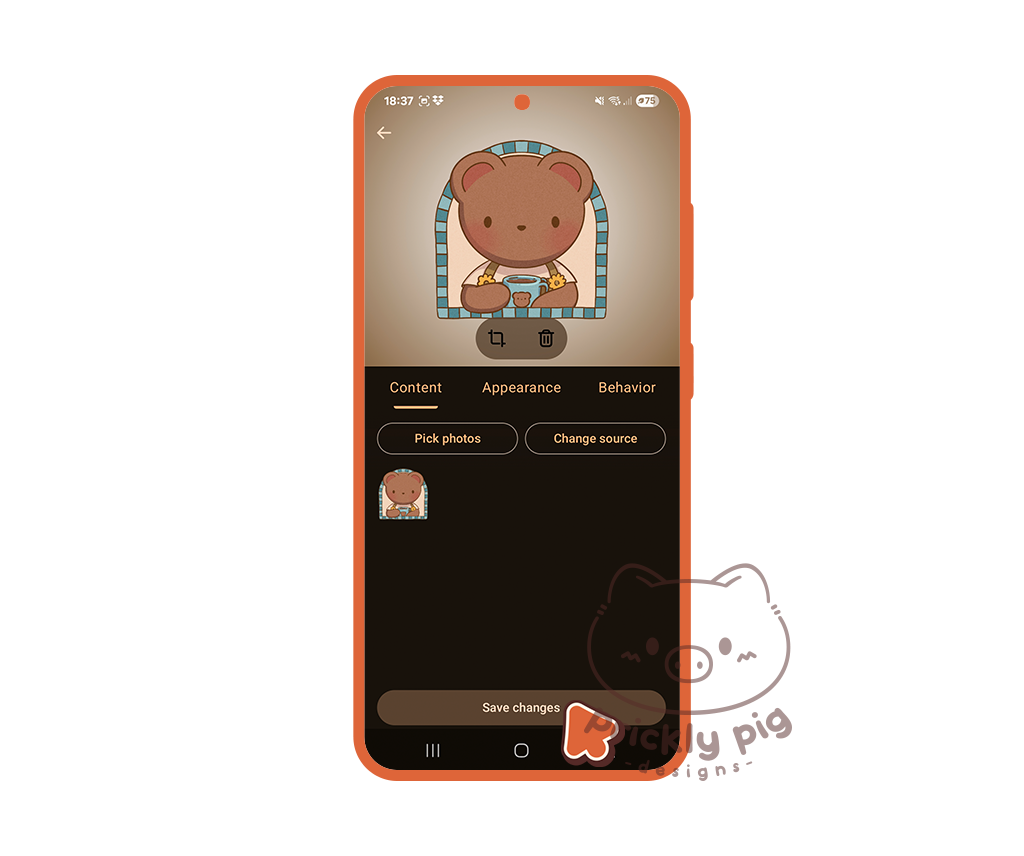
step 6
Tap Save Changes.
step 7
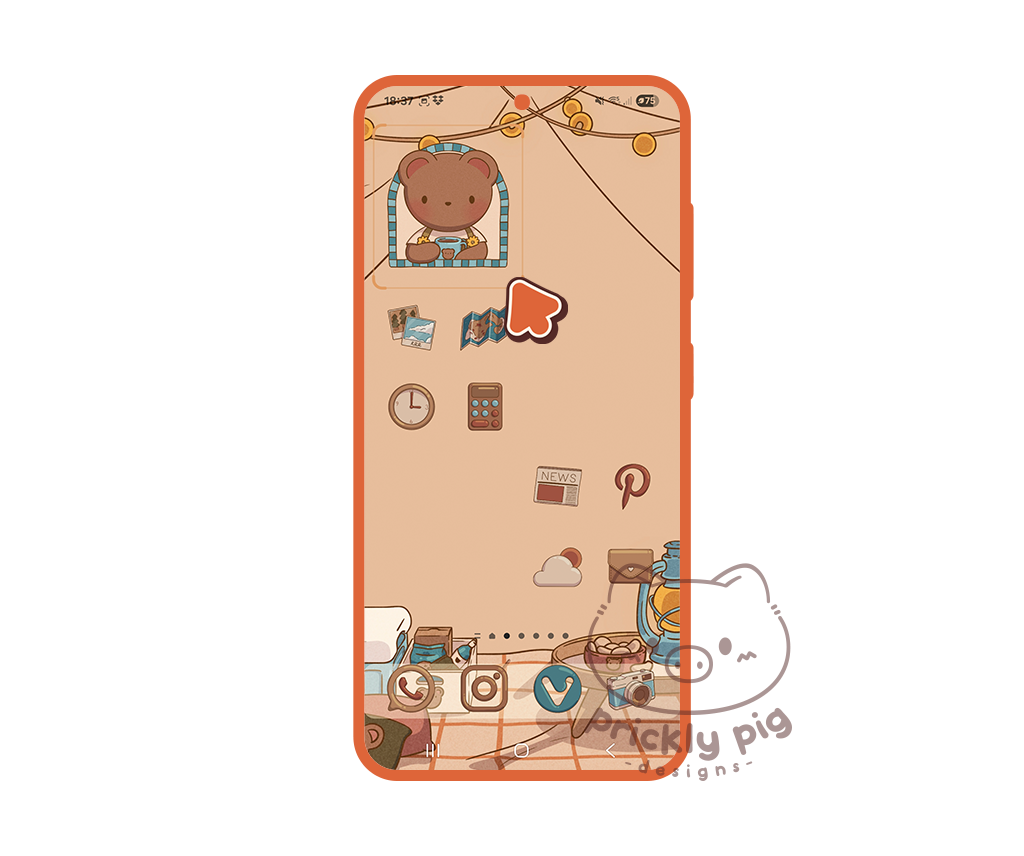
The widget will appear on your home screen where you can tap and drag to rescale it and move it around.
step 8
To display a rectangle widget optimally, repeat steps 1 - 4with a wide shaped image and then tap Appearance.
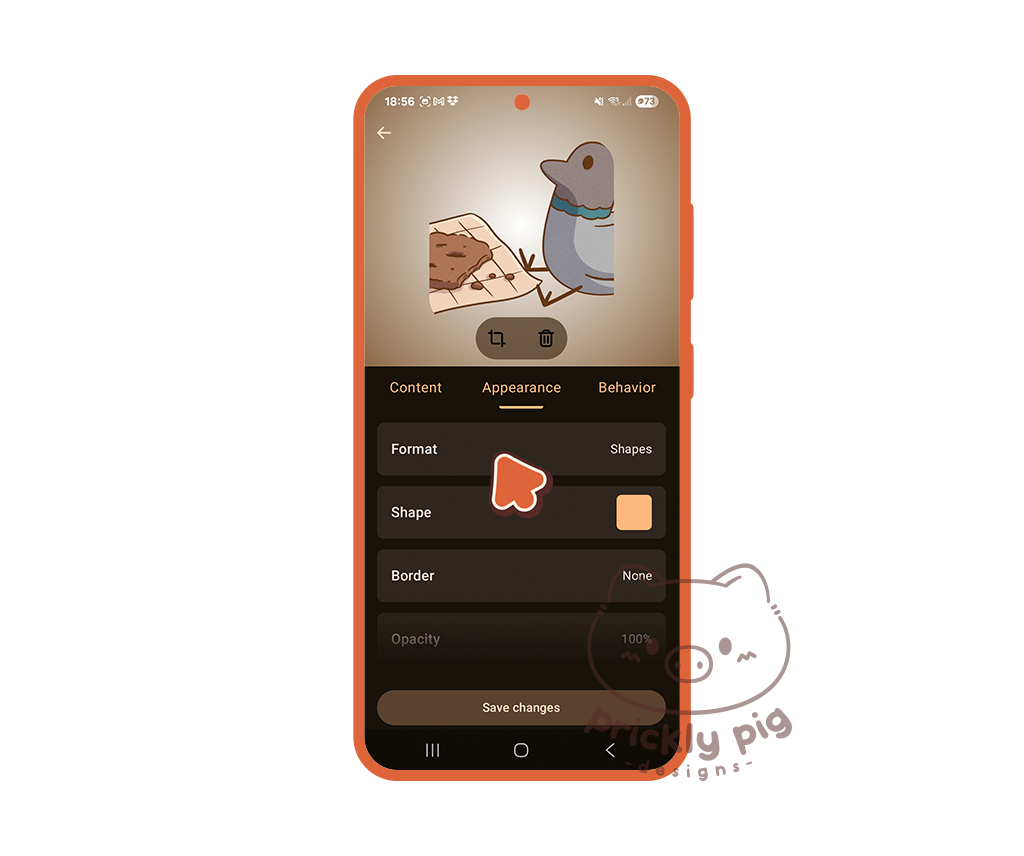
step 9
Tap Format.

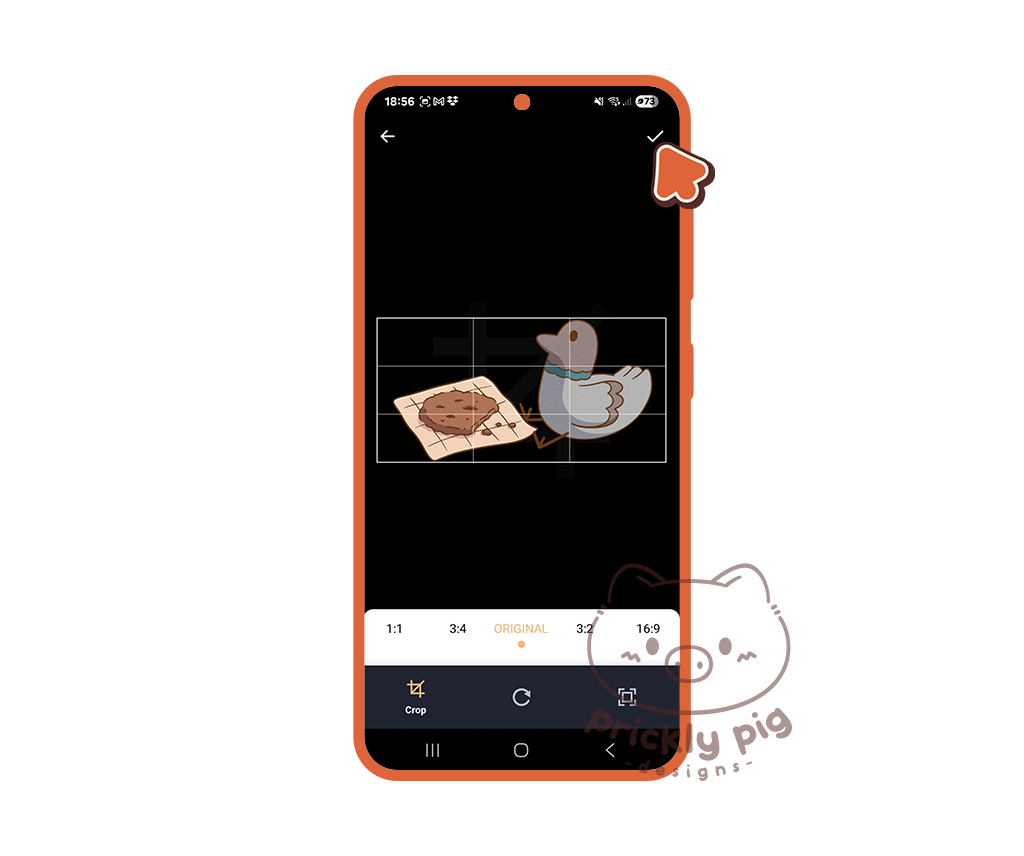
step 10
Scroll across and select Original.

step 11
Tap the crop icon.
step 12
Tap the tick icon.
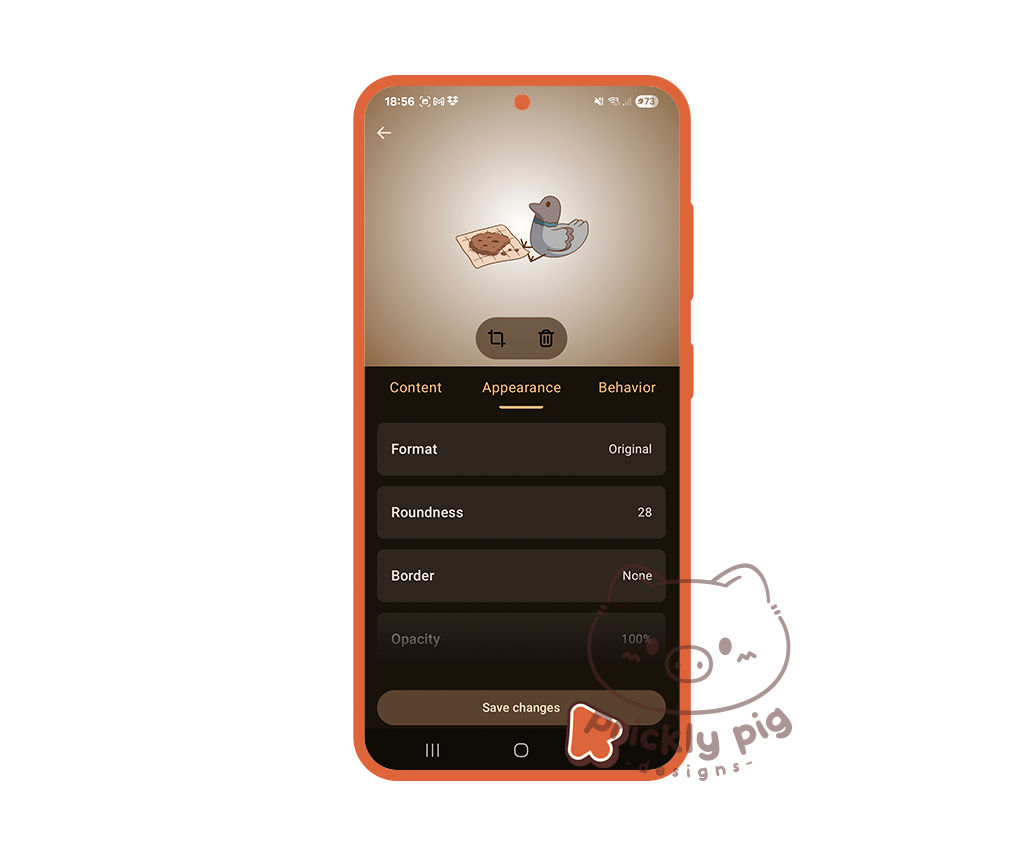
step 13
Tap save changes.
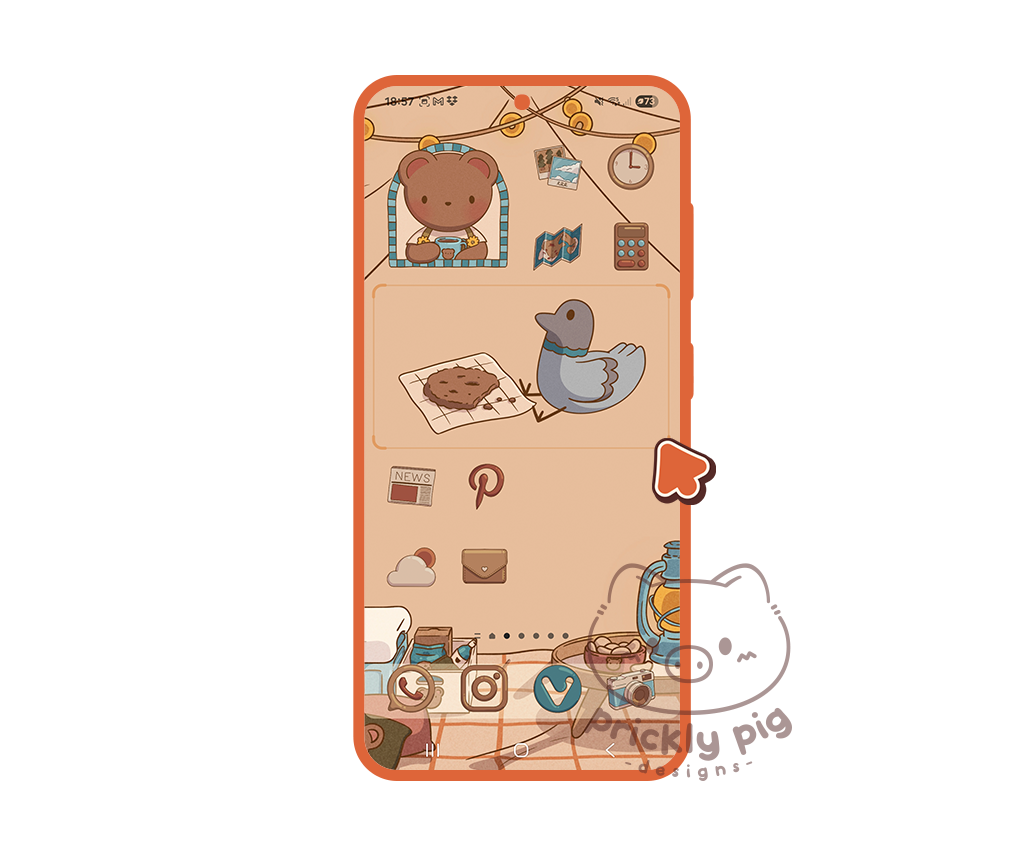
step 14
Tap and drag to make the widget rectangular shaped.